Getting Started - How to Install and Activate EditX
This guide explains how to install and activate the EditX WordPress plugin from the official WordPress Plugin Directory.
Method 1: Install EditX from the WordPress Dashboard
This is the easiest and recommended method.
Step 1: Log in to WordPress
Log in to your WordPress admin dashboard.
Step 2: Go to the Plugins Page
From the left-hand menu, go to:
Plugins > Add New
Step 3: Search for EditX
In the search box, type:
EditXWordPress will search the plugin directory and display matching results:
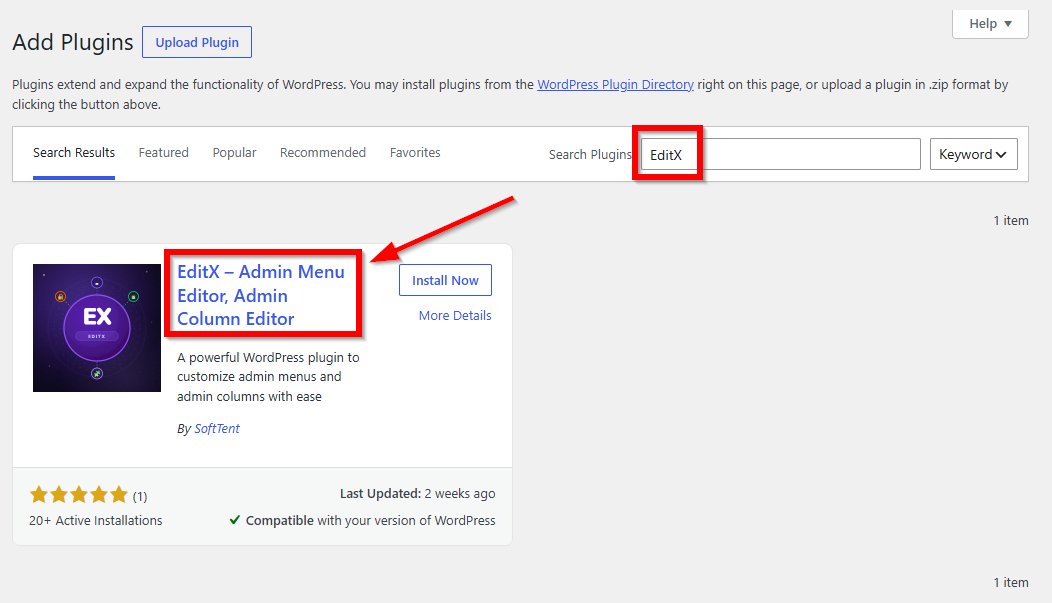
Step 4: Install the Plugin
Find the EditX plugin in the search results.
Click the Install Now button.
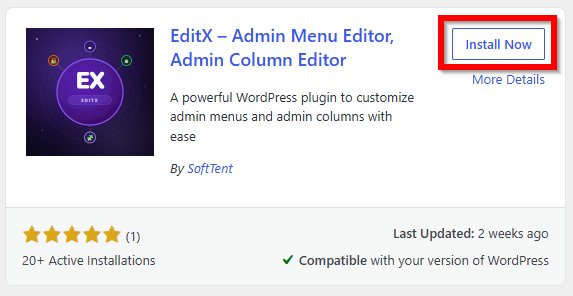
WordPress will download and install the plugin automatically.
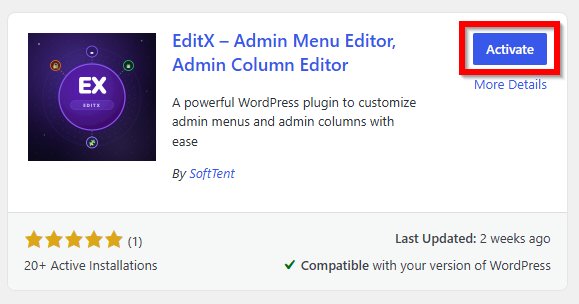
Step 5: Activate the Plugin
Once the installation is complete, the Install Now button will change to Activate.
Click Activate to enable the plugin on your website.
Method 2: Install EditX Manually
You can also install EditX manually by downloading the plugin ZIP file.
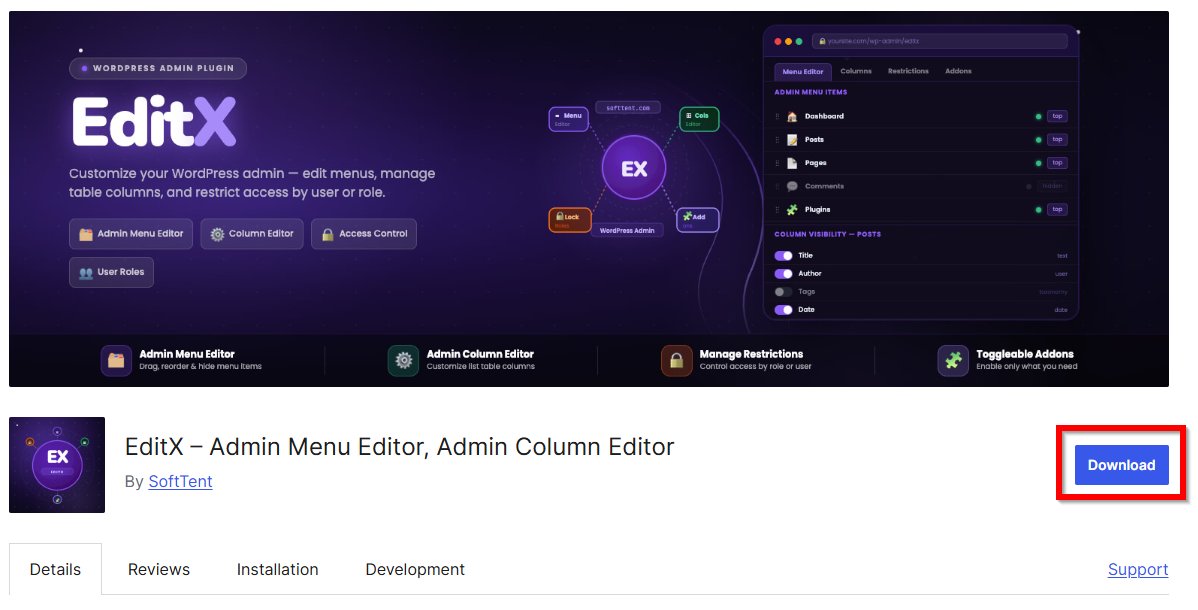
Step 1: Download the Plugin
Go to the official plugin page:
https://wordpress.org/plugins/editx/
Click the Download button to download the plugin ZIP file to your computer.
Step 2: Upload the Plugin to WordPress
Log in to your WordPress dashboard and go to:
Click the Upload Plugin button at the top of the page.
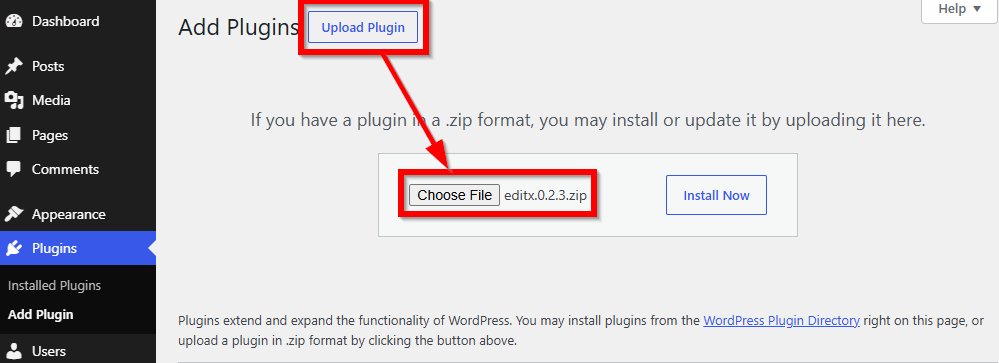
Step 3: Choose the ZIP File
Click Choose File and select the downloaded EditX ZIP file.
Then click:
Install NowStep 4: Activate EditX
After the installation is complete, click:
ActiveNext Step
After activating EditX, review the plugin settings or options available in your WordPress dashboard and configure them according to your website requirements.